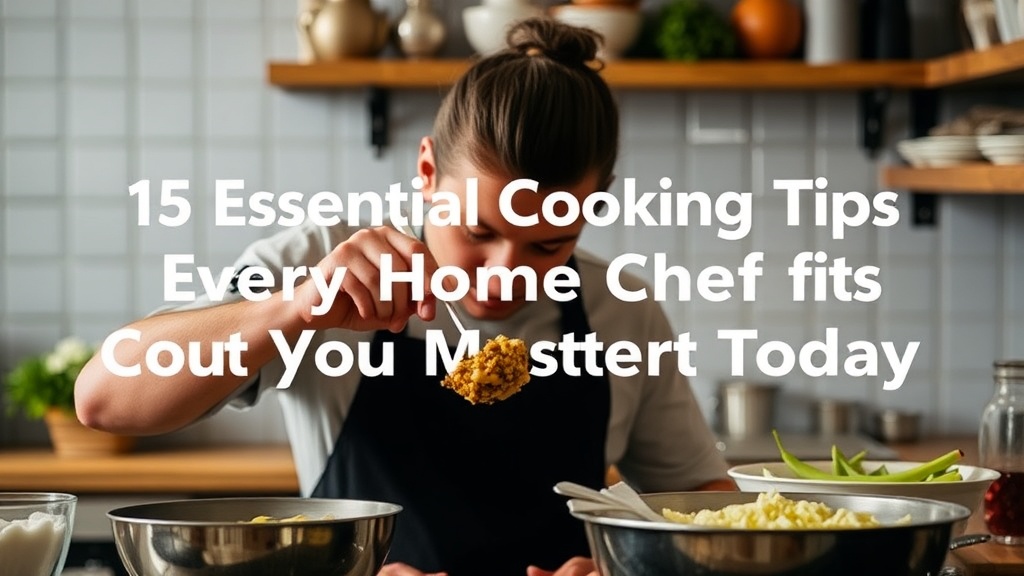
15 Essential Cooking Tips Every Home Chef Should Master Today

Master the Art of Mise en Place Before You Start Cooking
Invest in a Quality Chef's Knife and Keep It Razor Sharp
Let Meat Rest After Cooking for Juicier Results Every Time
Taste and Season Your Food at Every Stage of Cooking
Control Your Heat Source for Perfect Caramelization
Mastering the fundamentals transforms weeknight dinners from stressful scrambles into satisfying rituals. These fifteen cooking tips cover everything from knife skills to heat control—practical techniques that save time, reduce waste, and make food taste better. Whether you're feeding a family in Fredericton or cooking for one in a downtown apartment, these methods work in any kitchen.
What's the Most Important Skill for Beginning Cooks?
Knife skills top the list—period. A sharp knife in capable hands cuts prep time by half and keeps fingers intact.
Most home cooks treat their knives like afterthoughts. They grab dull blades from discount sets and wonder why onions take forever to chop. Here's the thing: you don't need twelve knives. You need three—a chef's knife (8-10 inches), a paring knife, and a serrated bread knife. The Wüsthof Classic 8-inch Chef's Knife runs about $170 but lasts decades with proper care.
Hold the chef's knife by pinching the blade where it meets the handle. The grip gives control. Curl fingers under on the opposite hand—knuckles guide the blade. Practice the rocking motion: tip down, rock back through the food. Start slow. Speed comes naturally.
The catch? Dull knives cause more injuries than sharp ones. A blade that slips on tomato skin finds fingers instead. Hone your knife weekly with a Shun DM0750 Honing Steel. Get it professionally sharpened twice yearly—many hardware stores in Fredericton offer this for under $15.
Why Does Restaurant Food Taste Better Than Home Cooking?
Salt and fat—used aggressively and at the right moments.
Chefs salt throughout cooking, not just at the end. They season meat hours before cooking (sometimes days). They finish dishes with butter, good olive oil, or cheese. Home cooks fear these ingredients. That fear shows on the plate.
Salt early. Salt often. Taste as you go. Kosher salt—Diamond Crystal or Morton's—dissolves evenly and sticks to food better than table salt. Keep a small bowl of it next to the stove. Pinch it with your fingers; you get better control than shaking from a container.
That said, salt alone won't save bad ingredients. Buy the best you can afford. A $12 bottle of California Olive Ranch Extra Virgin Olive Oil transforms vinaigrettes. European-style butter—Kerrygold or Plugrá—adds depth that standard sticks lack. These aren't splurges. They're investments in flavor.
How Do You Cook Meat That Doesn't Turn Out Dry?
Rest it after cooking and stop overcooking it in the first place.
Heat causes muscle fibers to contract. Squeezing fibers push juice toward the center. Cut immediately—juice floods the cutting board. Wait five to fifteen minutes (depending on thickness) and juices redistribute. The meat stays moist.
Use a thermometer. Not the dial thermometer from the grocery store—the $12 ones are terrible. Get a digital instant-read like the ThermoWorks ThermoPop ($35). It reads in 3-4 seconds. No guessing. No cutting into chicken to check doneness (which releases more juice).
| Protein | Target Temp | Pull From Heat |
|---|---|---|
| Chicken breast | 165°F | 160°F (carryover cooking adds 5°) |
| Pork chops | 145°F | 140°F |
| Beef (medium-rare) | 130°F | 125°F |
| Salmon | 125°F | 120°F |
Worth noting: carryover cooking continues raising internal temperature 5-10 degrees after removal from heat. Account for it.
What's the Secret to Perfectly Seared Food?
Dry surfaces and patience—don't crowd the pan.
Water boils at 212°F. The Maillard reaction—the browning that creates flavor—needs around 300°F. Wet food steams instead of sears. Pat proteins dry with paper towels before cooking. Seasoned cooks let meat air-dry on a rack in the fridge for an hour (or overnight).
Heat your pan before adding oil. Then heat the oil before adding food. If something doesn't sizzle immediately, the pan wasn't hot enough. Remove it, wait, try again.
Don't move food constantly. Place it. Leave it. The surface touching the pan needs sustained contact to brown. Chicken thighs need 5-7 minutes undisturbed. Steak needs 3-4 minutes per side for a proper crust.
Overcrowding drops pan temperature. Steam wins. Brown loses. Cook in batches if necessary. Better to sear three pieces perfectly than six pieces poorly.
Building Flavor in Layers
Great cooks think in layers. Each step adds depth.
Start with aromatics—onion, garlic, shallots, ginger—cooked in fat until fragrant. Add spices early (blooming them in oil releases fat-soluble flavors). Deglaze with wine, stock, or vinegar to scrape up browned bits (the fond) stuck to the pan. That's concentrated flavor.
Finish with acid. A squeeze of lemon, splash of vinegar, or dollop of yogurt brightens heavy dishes. Salt enhances existing flavors; acid creates new ones. Most home cooks underuse it.
Fresh herbs at the end. Dried herbs during cooking. Basil stirred into hot pasta loses its vibrancy in minutes. Add it off the heat. Rosemary in a braise needs hours to soften and release oils.
How Can You Cook Faster Without Sacrificing Quality?
Mise en place—everything in its place before you start.
Professional kitchens run on this principle. Chopped vegetables in bowls. Measured spices waiting. Tools within reach. Home cooks start cooking, then chop the next ingredient, then hunt for the oregano. Stop-start cooking burns garlic and overcooks proteins.
Read the entire recipe first. (Yes, really. The whole thing.) Gather ingredients. Prep everything. Then—and only then—turn on the heat. You'll cook faster and better.
Clean as you go. A bowl of soapy water in the sink. Wipe counters between steps. A messy kitchen slows you down mentally. Clutter creates stress.
Smart Substitutions That Actually Work
Running to the store mid-recipe ruins momentum. Know your swaps.
- No buttermilk? Add 1 tablespoon lemon juice or vinegar to 1 cup milk. Let sit 5 minutes.
- Out of eggs for breading? Mayo works—it's eggs and oil.
- Missing shallots? Use red onion and a pinch of garlic.
- No heavy cream? Blend ¾ cup milk with ¼ cup melted butter.
- Fresh herbs dried out? Use ⅓ the amount of dried herbs (they're concentrated).
The catch? Some substitutions change the dish. Lemon juice plus milk won't thicken like real buttermilk in biscuits. Accept the trade-off or adjust expectations.
What's the Best Way to Organize a Small Kitchen?
Group by function, not by type.
Most people organize by category—all baking together, all cans together. Functional organization works better. Keep cutting boards, knives, and prep bowls near each other. Store pots and pans near the stove. Group oils, vinegars, and commonly used spices within arm's reach of cooking zones.
Use vertical space. Magnetic knife strips free drawer space. Hanging pot racks work in kitchens with high ceilings. Door-mounted organizers hold spices, foil, and plastic wrap.
A good kitchen doesn't need to be large. The kitchen at The Blue Door Restaurant in Fredericton—where local chefs train—measures barely 200 square feet. Efficiency matters more than square footage.
Equipment Worth the Counter Space
Small kitchens force choices. These earn their keep:
- Dutch oven — The Le Creuset 5.5-Quart Round ($370) braises, bakes bread, fries, and lasts generations. Budget option: Lodge Enameled ($80) performs 90% as well.
- Cast iron skillet — Lodge 12-inch ($30). Indestructible. Better non-stick than Teflon once seasoned.
- Immersion blender — The Breville Control Grip ($100) purees soups in the pot. No transferring hot liquid to blenders.
- Microplane grater — Citrus zest, hard cheese, garlic, ginger. $15 transforms dishes.
- Kitchen scale — Volume measurements fail for baking. The OXO Good Grips scale ($50) measures in grams and ounces.
How Do You Reduce Food Waste?
Use every scrap—vegetable tops become pesto, bones become stock, stale bread becomes croutons.
Store herbs properly. Wrap cilantro and parsley in damp paper towels, then plastic bags. Store basil at room temperature (it turns black in the fridge). Revive wilted greens in ice water for 30 minutes.
Freeze leftover wine in ice cube trays for cooking. Freeze tomato paste in tablespoon portions. Freeze ginger whole—it grates easily from frozen and lasts months.
Label everything with dates. Mystery containers in the back of the fridge become science experiments. A roll of masking tape and a marker by the fridge solve this.
"Waste comes from poor planning, not poor cooking. The best cooks I know shop with specific meals in mind, not vague intentions."
Mastering Heat Control
High heat isn't always better heat.
Boiling water for pasta? Rolling boil—yes. Searing steak? High heat—yes. But delicate sauces, eggs, and fish need gentle temperatures. Learn your stove's quirks. The back right burner runs hot. The front left runs cool. Adjust accordingly.
Preheat properly. Cold ovens produce uneven results. Most home ovens take 15-20 minutes to reach temperature—longer than the preheat beep suggests. An Oven Thermometer ($8) reveals the truth.
Rest cast iron after cooking. Sudden temperature changes warp pans. Let them cool on the stovetop. Clean with hot water and a brush. Re-oil lightly. Ignore the "never use soap" crowd—mild soap won't hurt seasoned cast iron. Harsh scrubbing does.
That said, some rules exist for reasons. Don't put cold glass Pyrex directly into hot ovens. Thermal shock cracks it. Warm glass gradually or use metal pans for high-heat roasting.
Final Thoughts on Building Kitchen Confidence
Confidence grows through repetition, not theory. Cook the same dish five times. You'll notice patterns. You'll anticipate timing. You'll stop following recipes word-for-word and start improvising.
Keep a cooking journal. Note what worked, what failed, modifications made. Three months later, you'll spot progress. Worth noting: even professionals burn garlic sometimes. The difference? They start over instead of serving bitter food.
Invest in one good meal per week. Not expensive ingredients—just attention. Cook slowly. Taste constantly. Clean as you go. These habits separate competent home cooks from people who merely follow recipes.