Achieving the Perfect Golden Crust on Homemade Sourdough

Most home bakers are shocked to learn that nearly 30% of sourdough loaves fail to develop a significant crust—the way a professional loaf looks like it was pulled from a high-end stone oven. This isn't just a cosmetic issue. A proper crust provides the structural integrity needed to support the crumb and creates that satisfying, crunchy contrast to the soft interior. This post covers the mechanical and thermal variables that dictate how your crust forms, from steam management to oven temperature control.
Why does my sourdough crust look pale and soft?
If your loaf comes out looking more like a soft roll than a rustic bread, you're likely dealing with a lack of moisture or insufficient heat. The crust isn't just the "skin" of the bread; it's the result of a complex reaction between heat, moisture, and sugar. When the surface of the dough stays too dry during the first few minutes of baking, the crust hardens prematurely (a phenomenon called oven spring arrest), preventing the loaf from expanding and resulting in a dense, pale exterior.
One common culprit is the lack of steam. Steam keeps the surface of the dough supple, allowing the gases inside to stretch the dough to its full potential. Without it, the exterior sets too quickly. You can try using a preheated Dutch oven to trap the natural steam released by the dough, or use a specialized baking stone with a steam pan. If you want to see the specific chemistry behind how starches gelatinize on the surface, the King Arthur Baking guide offers great insights into the science of hydration.
Can I use a baking stone instead of a Dutch oven?
You can, but you'll need to be much more intentional about your steam delivery. A Dutch oven is a closed system—it's essentially a little portable oven that traps the moisture released by the dough. If you're using a baking stone or a heavy-duty baking sheet, you'll need to introduce steam manually. This can be done by placing a cast iron skillet filled with boiling water on the bottom rack of your oven. Be extremely careful when adding hot water to a hot oven (it's a steam burn risk!), and ensure your oven is large enough to handle the moisture without the glass door fogging up too much.
The temperature of the surface you're baking on also matters. If your stone isn't hot enough, the bottom of the loaf won't get that characteristic dark, caramelized base. Preheating your stone for at least an hour at your target temperature is a non-negotiable step. If you're curious about different types of professional bread-making equipment, checking out resources like The Spruce Eats can provide different perspectives on home baking gear.
How long should I bake the bread for the best color?
The timing of your bake is a balancing act between developing color and not burning the crust. Most sourdough recipes call for two stages: the initial bake with plenty of steam (or a lid on) and the final bake without it. The first stage—usually about 20 to 25 minutes—is for the oven spring and crust formation. The second stage, where you remove the lid or the steam source, is where the crust actually develops its deep color and crunch. This second stage can last anywhere from 15 to 25 minutes depending on your oven's heat retention.
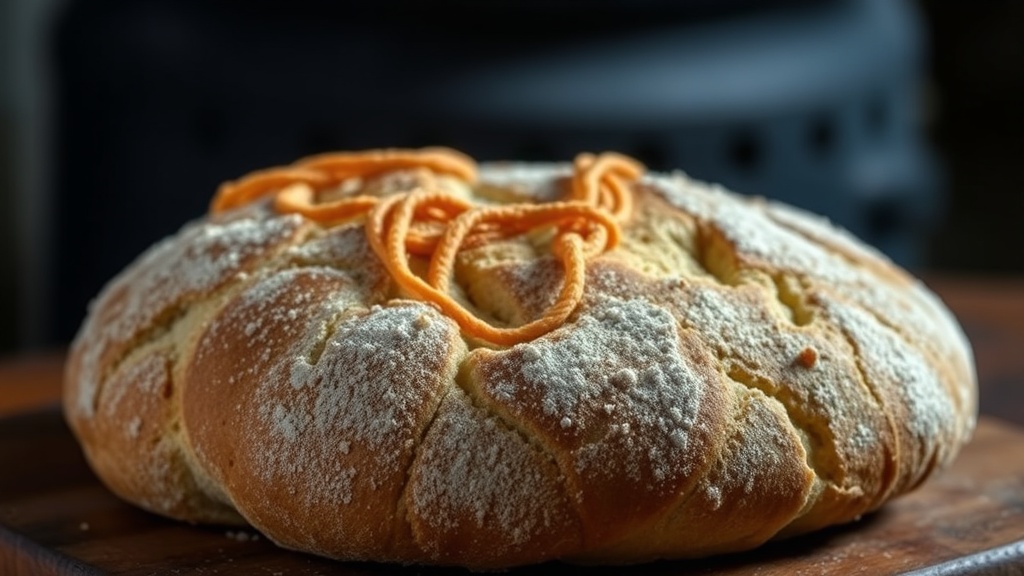
Watch for the color. You aren't looking for just a light tan; you want a deep, mahogany-colored crust. This is where the Maillard reaction and caramelization really do their work. If you pull the bread out too early, the crust will be soft and might even become chewy or rubbery as it cools. If you leave it in too long, you'll end up with a bitter, burnt exterior. Trust your eyes and your thermometer. A finished loaf should sound hollow when tapped on the bottom.
Is a high-protein flour necessary for a crispy crust?
While not strictly necessary, using a flour with a higher protein content—like bread flour—helps create a stronger gluten structure. This structure is what allows the bread to hold its shape and provides the tension needed to create a thick, crunchy crust. If you use all-purpose flour, your loaf might be more prone to collapsing or having a thinner, more fragile crust. The way the flour absorbs water also plays a role; a higher hydration dough often results in a more robust crust because there's more moisture to turn into steam.
- Bread Flour: High protein, creates strong structure.
- Whole Wheat: Adds flavor and color, but can make the crust denser.
- Rye Flour: Provides a distinct, earthy taste and a darker crust.
The temperature of your water during the mixing stage can also influence the final bake. Using slightly warmer water (not hot, just lukewarm) can kickstart the yeast activity, but don't overdo it. The goal is a consistent fermentation that leads to a strong, well-developed dough that can withstand the heat of the oven. If your dough is too weak, it won't have the tension to create that beautiful, much-needed crust expansion.
A well-made crust is a sign of a healthy, well-fermented dough. If you see large bubbles or "blisters" on the crust, don't panic. This is often a sign of a long, cold fermentation in the refrigerator, which helps develop both flavor and that sought-after blistered texture. It's a hallmark of high-quality sourdough that many bakers strive for. Just remember, the goal isn't just a hard exterior, but a crust that has character and depth.