Why Your Pan-Seared Proteins Are Stuck to the Pan

You'll learn why proteins stick to your cookware, how to prevent it using temperature control, and which tools actually work for high-heat cooking. This isn't just about a bad pan; it's about the physics of heat transfer and protein structure.
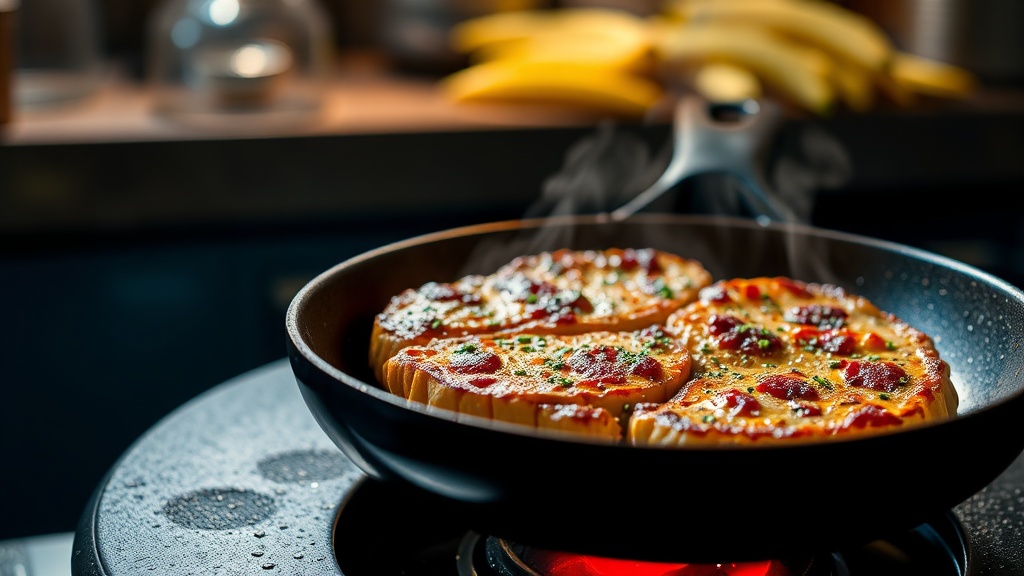
There is nothing more frustrating than finishing a beautiful sear, only to lift the steak or chicken breast and see a layer of browned, delicious crust still stuck to the bottom of your pan. You've done the work, but the meat refuses to release. This happens because of a chemical reaction called the Maillard reaction—the same process that gives grilled food its color and flavor—but when it goes wrong, it results in a mess that ruins your presentation and your patience.
Why does meat stick to the pan?
The primary reason meat sticks to a pan is a lack of a physical barrier between the protein and the metal. When you drop a piece of meat into a pan, the proteins on the surface are extremely sensitive to heat. If the pan isn't hot enough or the oil hasn't reached its smoke point, the proteins actually bond to the microscopic pores of the metal surface. It's almost like a glue. If you try to flip the meat too early, you'll tear the fibers, leaving the best part of the sear behind.
Temperature is the biggest culprit here. If you're using a stainless steel pan (my personal favorite for crust development), you need to wait until the metal is truly hot. A common trick is the "water bead test," where a drop of water should dance across the surface like a marble rather than evaporating instantly. If the pan is too cold, the protein won't release itself; if it's too hot and the oil is smoking excessively, you'll burn the fats before the sear even begins.
Another factor is moisture. If you take a steak straight from the refrigerator and drop it into a pan, that surface moisture creates steam. Steam isn't a sear; it's a boil. That moisture prevents the direct contact between the meat and the heat, leading to a gray, soggy mess that clings to the pan. Always pat your meat dry with paper towels—it's a simple step that changes everything.
Which pan is best for searing meat?
The "best" pan depends on your skill level and what you're trying to achieve. For most home cooks, I recommend having a high-quality cast iron skillet and a heavy-bottomed stainless steel pan. Cast iron is incredible for heat retention, meaning once it gets hot, it stays hot even when you add a cold piece of meat. However, cast iron requires a bit of seasoning-maintenance to keep it non-stick.
Stainless steel is the choice for those who want to make pan sauces. Because the protein inevitably leaves a bit of "fond" (those delicious browned bits), you can easily deglaze a stainless pan with wine or stock to make a sauce. If you're looking for more scientific guidance on heat conductivity, the Serious Eats archives offer great breakdowns on different metallurgy in cookware.
Avoid using cheap, thin aluminum pans for high-heat searing. They have poor heat distribution, which leads to "hot spots" where the meat might burn in one corner while remaining raw in another. You want a pan that holds heat consistently across the entire surface area.
How do I know when to flip my food?
\p>The golden rule of searing is patience. You cannot force a sear. If you try to lift the meat and it feels stuck, stop. Do not force it. If the meat hasn't released naturally, it hasn't finished forming its crust yet. The crust is actually what prevents the sticking; once the bottom layer has caramelized and dried out, it will naturally release from the surface of the pan.
To test this, use a pair of tongs to gently lift a corner. If there is resistance, wait another sixty seconds. This is especially true for much-loved cuts like ribeye or thick-cut pork chops. You might also find that the type of fat used matters. Using an oil with a high smoke point, like avocado oil or grapeseed oil, helps create a stable layer of lubrication. You can check the smoke points of various oils through the King Arthur Baking resources to ensure you aren't using an oil that will break down and taste bitter.
Let's look at a quick comparison of common cooking fats for high-heat searing:
| Oil Type | Smoke Point | Best Use Case |
|---|---|---|
| Butter | 350°F (175°C) | Flavoring at the end (Basting) |
| Extra Virgin Olive Oil | 375°F (190°C) | Low-to-medium heat cooking |
| Avocado Oil | 520°F (270°C) | High-heat searing/crust development |
| Grapeseed Oil | 420°F (215°C) | General pan-frying |
A final tip for the perfectionists: don't forget to salt your meat properly. Salt helps draw out moisture, which is good for a dry brine, but if you salt your meat right before it hits the pan and it sits for ten minutes, the surface becomes wet again. Salt immediately before cooking, or salt a few hours in advance to ensure the surface stays dry and ready for the heat.